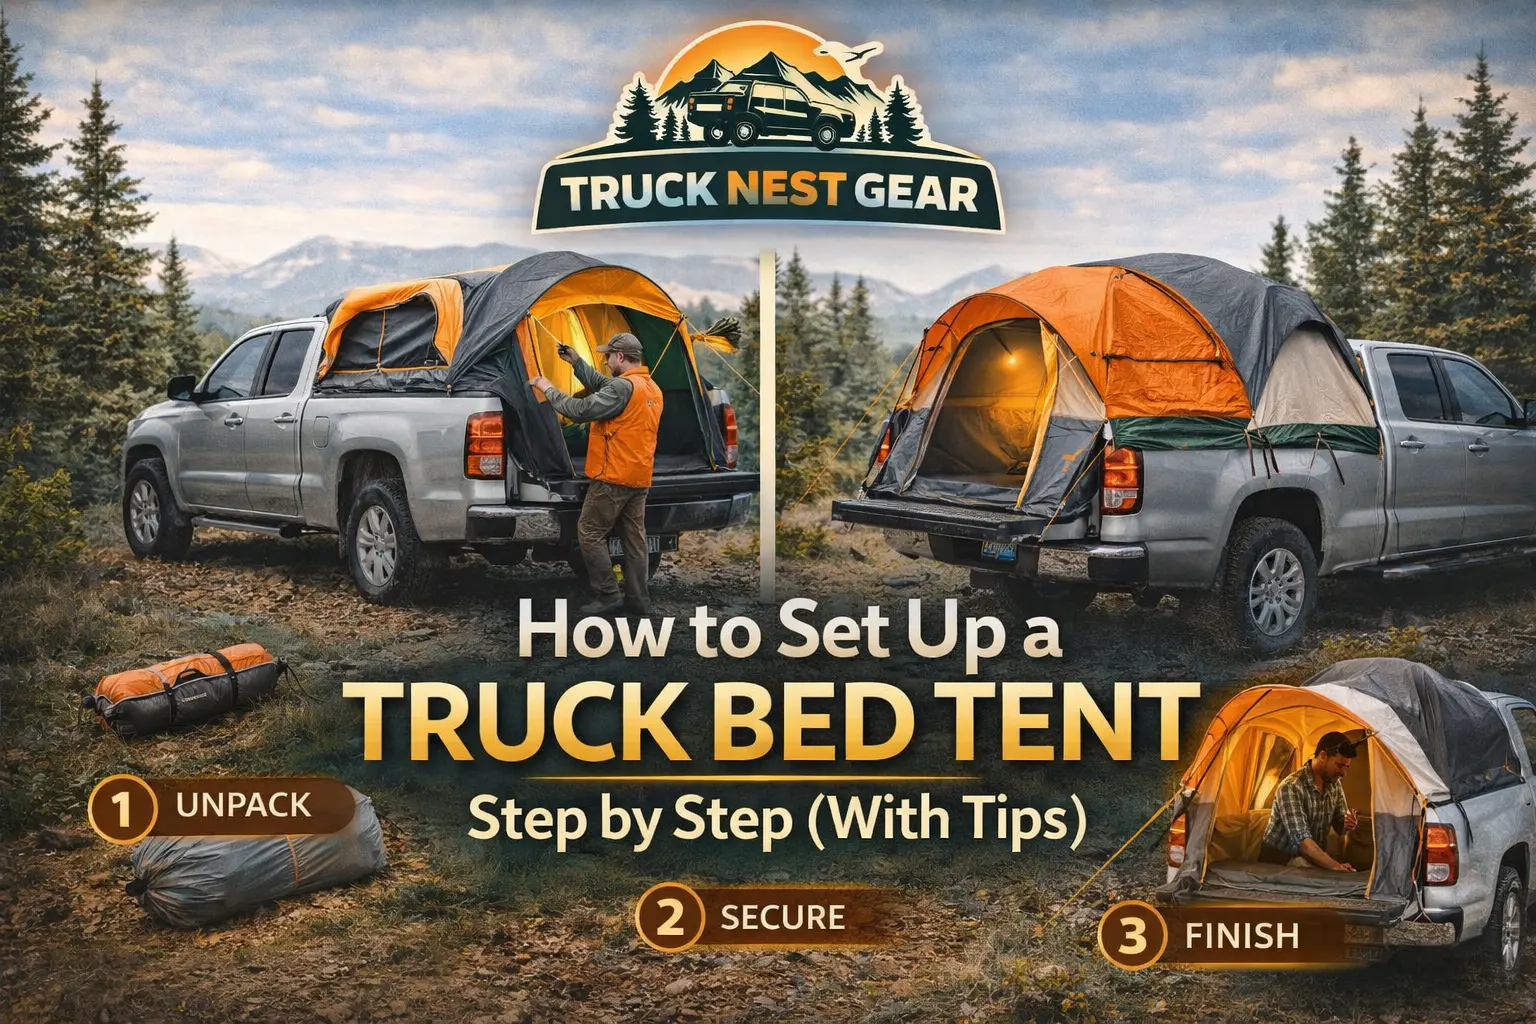
How to Set Up a Truck Bed Tent Step by Step (With Pro Tips)
You have done the research, compared your options, and your truck bed tent has just arrived. The box is open, the parts are laid out, and now comes the moment that either builds your confidence or tests your patience: the first setup.
Here is the truth that most product manuals will not tell you: the first time you set up a truck bed tent is always the hardest. The second time takes half as long. By the third time, it feels completely natural.
This guide walks you through every step of the process in plain, practical language, from preparing your truck bed to zipping up the rainfly on a fully assembled shelter. Along the way, you will find real tips that experienced truck campers learned through trial and error, so you can skip the frustrating part and get straight to the camping.
What You Need Before You Start
Setup goes smoothly when everything is ready before you begin. Run through this quick pre-setup checklist:
- Your truck bed tent and all included components: poles, rainfly, carry bag, straps or clamps, and stakes if included
- Your truck parked on a reasonably level surface; a slight incline is fine, but a steep slope makes setup awkward and sleeping uncomfortable
- A clean, dry truck bed: remove any tools, loose gear, or debris that could puncture the tent floor or interfere with the pole system
- 15 to 30 minutes for your first setup, do not attempt your first assembly in the dark or in a hurry
- The manufacturer’s instruction sheet: keep it accessible for your first two or three setups, even if you plan to memorize the process
One item that experienced truck campers always recommend adding at this stage is a truck bed mat or insulated sleeping pad. Your truck’s metal bed surface is hard and cold, and placing a mat down before the tent goes up is significantly easier than trying to slide one in afterward.
Step 1: Park Your Truck and Prepare the Bed
The foundation of a good truck tent setup is a properly prepared truck bed. This step takes less than five minutes but makes every step that follows easier and more secure.
Lower your tailgate fully and leave it in the open position. The tailgate sleeve of your truck tent is designed to drape over and seal around the open tailgate, so it must be fully down before the tent goes on. A partially lowered tailgate creates an irregular surface the sleeve cannot conform to, leaving gaps on both sides that wind and insects exploit immediately.
Clear the truck bed completely. Even small items left in the bed can create pressure points against the tent floor fabric, leading to wear and potential tears over extended use. If you are camping with gear, position it behind the cab where it will sit beneath the tent footprint rather than under it.
Wipe down your bed rails. Dust, dirt, and moisture on the bed rails reduce the grip of your attachment straps or clamps. A quick wipe with a dry cloth ensures a firm, stable connection.
Place your sleeping pad or truck bed mat. Lay it flat across the full length of the bed before beginning tent assembly. Doing it now means you will not have to awkwardly feed it through a half-assembled tent later.
Step 2: Unpack and Identify All Components
Before assembling anything, take every component out of the carry bag and lay it on the ground beside the truck. Identify each piece against the manufacturer’s parts list.
A standard truck bed tent kit typically includes:
- The main tent body (fabric shell)
- The rainfly
- The pole set usually two to four poles in multiple sections
- Bed rail attachment straps or clamps
- Guy lines and ground stakes for additional wind stability
- A pole repair sleeve in quality kits
- The carry bag
Do not skip this inventory step on your first setup. Missing a pole section or a strap buckle is far easier to identify and resolve in your driveway than at a campsite two hours from the nearest outdoor store.
Lay the poles out in their assembled sequence so you can see the full length of each pole before threading. Most poles are color-coded or marked with numbered sections to indicate assembly order; check for these markings now before anything is threaded through anything else.
Step 3: Assemble the Pole System
The pole system is the structural skeleton of your truck tent, and assembling it correctly is the most technically involved part of the entire setup process.
Connect each pole section by pushing the shock cord-connected segments firmly together until each joint clicks or seats fully. A half-connected joint is a structural weak point that will flex or fail under wind pressure. Run your hand along each assembled pole and feel for any joint with rotational or lateral play before threading.
Most truck bed tents use one of two pole configurations:
A-frame configuration: Two poles cross over each other at the center peak of the tent, forming an X shape when viewed from the end. This is the most common design and creates a stable, wind-resistant roofline with a defined peak.
Hoop or tunnel configuration: Multiple curved poles run parallel from one side of the truck bed to the other, creating a tunnel-shaped interior with more usable headroom along the full length. This design is popular in longer bed tents where interior volume matters more than peak height.
Identify which configuration your tent uses before threading the poles through the fabric sleeves. Threading them in the wrong direction is a frustrating mistake that requires a complete restart.
Step 4: Thread the Poles Through the Tent Body
With your pole sections fully assembled, lay the tent body flat across the truck bed with the tailgate sleeve hanging over the open tailgate.
Thread each pole through its designated fabric sleeve from one end to the other. The sleeves are the narrow fabric channels sewn into the tent body that guide each pole into its final position. Work slowly and do not force the pole; if it is resisting, check that you are threading in the correct direction and that all pole sections are fully seated before continuing.
As you thread each pole, keep the tent body lying flat on the truck bed. Trying to thread poles while the tent is bunched or folded significantly increases the risk of damaging the fabric or bending a pole section against the wrong edge.
Once all poles are threaded, connect each pole end to its corresponding grommet or pin at the base corners of the tent. These connection points are what transform the flexible threaded pole into a tensioned arc that lifts the tent body upright into its final shape.
Step 5: Raise the Tent and Attach to Bed Rails
With all poles connected at their base points, the tent body should now be standing upright above the truck bed in its intended shape.
Connect the attachment straps or clamps to your bed rails on both sides of the truck. Work from front to back, start with the straps nearest the cab, then move to the middle, then the rear. This sequence pulls the tent into correct alignment progressively rather than trying to tension everything simultaneously.
Tighten each strap to firm tension: snug enough that the tent does not shift when you push on it from the side, but not so tight that you are visibly stressing the fabric or deforming the pole arcs. Over-tightening is one of the most common causes of premature tent wear; it distorts the pole arc geometry and concentrates stress at the attachment points on the tent body rather than distributing it evenly across the structure. The specific attachment system designs and strap specifications that hold up best under repeated stress, and what to prioritize when evaluating different tent models before buying, are covered in the complete buyer’s checklist for truck bed tents, which walks through every structural specification that separates a long-lasting tent from one that shows wear within a season.
Check that the tent sits centered over the bed from left to right. If it is pulling noticeably to one side, adjust the strap tension on the opposite side until the tent sits evenly.
Step 6: Secure the Tailgate Sleeve
The tailgate sleeve is the fabric extension at the rear of your tent that drapes over and around your open tailgate. Properly securing it is essential for keeping wind, rain, and insects out of your sleeping space, and it is the area that causes the most first-time setup frustration because it feels awkward until you have done it twice.
Drape the sleeve fully over the tailgate so that it hangs evenly on both sides. Most sleeves have adjustable straps or hook-and-loop closures at the bottom that wrap under the tailgate to hold the sleeve snug against the surface.
Secure the bottom closures so the sleeve is firm against the tailgate with no significant gaps at the sides. A gap of even two or three inches along the tailgate edge is enough to let in a substantial amount of cold air, moisture, and insects during the night.
If your tent design includes a secondary zipper at the tailgate sleeve entry, check that it opens and closes smoothly before your first camping trip. A stuck zipper at the entry point is an inconvenience that is entirely avoidable with a pre-trip check and a light application of zipper lubricant.
Step 7: Attach the Rainfly
The rainfly is your primary weather defense, and attaching it correctly makes the difference between a dry, comfortable night and a wet, miserable one.
Drape the rainfly over the fully assembled tent body, centering it so that it hangs evenly on all sides. The rainfly should extend past the tent walls on every side by at least 6 to 8 inches. If it is sitting flush with the tent walls or barely extending past them, it is not positioned correctly and will allow rain to run directly down the tent fabric into the interior.
Connect the rainfly attachment points- typically small hooks, clips, or Velcro tabs, to the corresponding points on the tent body or pole system. Work around the tent in a systematic pattern: front left, front right, rear left, rear right, then fill in the middle attachment points. This keeps the fly centered under even tension rather than pulling to one side.
Stake out the rainfly guy lines if wind is expected or forecast. Guy lines extend from the lower edges of the rainfly and stake into the ground beside your truck, pulling the fly outward and downward to maintain the critical air gap between the fly and the tent body. That air gap is not cosmetic; it is the primary mechanism by which warm, moist air from inside the tent escapes rather than condensing against the cooler tent walls. The full range of techniques for keeping a truck tent stable and weatherproof when wind and rain arrive together, from correct guy line staking angle to supplemental ratchet strap anchoring for sustained high winds, is covered in detail in the complete guide to securing a truck bed tent in high winds.
Step 8: Final Checks Before Climbing In
Before declaring your setup complete, run through this quick final checklist:
- All pole sections are fully seated with no half-connected joints
- All bed rail straps are firm and even on both sides
- Tailgate sleeve is secured with no significant gaps at the sides or bottom
- Rainfly is centered and all attachment points are connected
- Guy lines are staked and tensioned if wind is present or forecast
- All zippers open and close smoothly
- Sleeping pad or mattress is laid flat with no bunching under the floor
- Mesh windows are closed to keep insects out
Pro Tips From Experienced Truck Campers
These are the insights that only come from time in the field, the kind that do not appear in any product manual.
Do a dry run at home first. Set up your tent completely in your driveway before your first camping trip. Identifying a missing component or a confusing step at home is infinitely less stressful than discovering the same problem at a remote campsite after dark. This single preparation habit separates campers who find the first setup satisfying from those who find it frustrating.
Mark your pole sections with colored tape. After your first setup, wrap a small piece of colored electrical tape around the first section of each pole. This eliminates orientation confusion on future setups and saves several minutes of sorting time when you are tired at the end of a long driving day.
Park with the wind at your back. Position your truck so the cab faces into the prevailing wind. This places the solid cab wall as your primary windbreak and keeps the tailgate side, the most ventilated part of the tent, in the sheltered lee. The difference in overnight warmth and wind noise is immediately noticeable on your first windy night.
Use a headlamp, not your phone. If you are setting up at dusk or in low light, a hands-free headlamp keeps both hands available for pole threading and strap tightening. Holding a phone flashlight in your teeth while trying to connect a pole grommet is exactly as awkward as it sounds.
Loosen straps before disassembly. Always release your bed rail straps before attempting to remove the poles. Trying to pull poles out of a tent that is still under tension is the fastest way to damage a pole tip or tear a fabric sleeve, a preventable mistake that costs real money.
Store your tent partially dry. Never pack a truck tent into its carry bag while it is wet. Moisture trapped inside promotes mildew growth that permanently damages the fabric coating and creates an odor that is nearly impossible to fully remove. If you must pack a wet tent, set it up again at home within 24 hours to dry completely before returning it to storage.
How to Optimize Your Truck Tent for Airflow
Setup technique directly affects how comfortable your sleeping environment feels overnight. Two tents with identical ventilation specifications can perform very differently based purely on how they are positioned and configured.
Open opposing mesh windows to create a cross-breeze through the tent interior. A single open window creates stagnant air; two opposing windows on opposite walls create actual airflow that carries moisture vapor out before it condenses on the inner walls.
Maintain the rainfly air gap by ensuring your guy lines are staked and tensioned. The air gap between the rainfly and the tent body is the primary mechanism by which moisture vapor escapes rather than condensing on the inner tent walls. A rainfly that sags against the tent walls eliminates this gap and turns a ventilation asset into a condensation problem.
Crack the tailgate sleeve entry on warm nights when rain is not a concern. Even a small opening at the entry point dramatically increases airflow through the tent without meaningfully compromising insect protection if you are using the mesh closures.
Common Setup Problems and How to Solve Them
The tent is pulling to one side. Release all straps and re-attach starting from the center, working outward equally on both sides. Uneven initial tensioning is almost always the cause; the tent follows the strap that was tightened first.
The tailgate sleeve will not stay closed. Check that the bottom closures are routed correctly under the tailgate rather than over it. If the sleeve is genuinely too loose for your tailgate profile, a bungee cord or additional strap wrapped around the tailgate surface provides supplemental compression that solves the problem immediately.
A pole section keeps disconnecting. Check the shock cord tension inside the pole. If the cord is loose or frayed, it needs replacement. Most outdoor retailers and tent manufacturers carry universal shock cord repair kits. This is a five-minute repair that saves a tent that would otherwise be unusable.
The rainfly is sagging and touching the tent walls. Retension the guy lines and check that all rainfly attachment points are connected. A sagging rainfly that contacts the tent wall creates a direct moisture transfer path; water runs down the outside of the fly, bridges the gap where the fly meets the tent wall, and wets the interior fabric. Proper guy line tension eliminates this entirely.
Condensation is heavy on the inner walls each morning. Increase ventilation by opening additional mesh windows and confirming that the rainfly air gap is maintained. Heavy condensation is almost always a ventilation issue rather than a waterproofing failure, the distinction matters because the solutions are completely different. Adding more DWR spray will not fix a condensation problem. Increasing airflow will.
How Setup Time Improves With Practice
| Setup Attempt | Typical Time | What Changes |
|---|---|---|
| First time | 25 – 35 minutes | Learning pole sequence and strap routing |
| Second time | 15 – 20 minutes | Familiar with sequence, less hesitation |
| Third time | 10 – 15 minutes | Muscle memory beginning to develop |
| Regular use | 5 – 10 minutes | Full confidence, systematic execution |
Hub-style pop-up truck tents compress this curve significantly; experienced users often achieve sub-5-minute setups. Traditional pole tents take slightly longer but reward you with a sturdier, more weather-resistant structure in demanding conditions. The trade-off between setup speed and structural performance in wind is one of the most practical distinctions between tent designs in this category.
Final Thoughts
Setting up a truck bed tent is a skill, and like every skill, it improves quickly with repetition. The campers who find the setup frustrating are almost always the ones who attempted it for the first time in the dark, at a busy campsite, without having read the instructions. The campers who find it effortless are the ones who did one dry run at home first.
Follow the eight steps in this guide, apply the pro tips, and your setup process will be smooth, fast, and genuinely satisfying from your very first real camping trip.
The tent is up. Now, the question that matters most on a rainy night is whether it is going to keep you dry, which comes down to your tent’s waterproofing rating, how its seams are constructed, and how the rainfly is tensioned. Everything covered in this guide addresses the setup side of that equation. The material and construction side is what you evaluate before you buy.