How to Fix a Truck Bed Tent Pole: Field Repairs and Home Repairs
A broken tent pole at a campsite is one of those problems that feels catastrophic in the moment and is usually solvable in under ten minutes with the right knowledge and the right tool. Most truck bed tent pole failures fall into three categories: a cracked or shattered fiberglass section, a bent aluminum section, and a failed or stretched shock cord. Each has a specific fix, and knowing which fix applies to which failure is what separates a camping trip that continues from one that ends early.
This guide covers every type of truck bed tent pole failure, how to identify which type you have, and the exact repair process for each, both in the field with minimal tools and at home with the full repair kit.
Know Your Poles: Fiberglass vs Aluminum
Before covering repairs, knowing which pole material your truck bed tent uses determines which failure modes are possible and which repairs apply.
Fiberglass poles are found in most entry-level and mid-range truck bed tents, Napier Backroadz 13, JOYTUTUS, WildFinder, and similar designs. Fiberglass is affordable, adequate in mild conditions, and color-coded for easy assembly.
Its weakness is brittleness: in cold temperatures below freezing, fiberglass becomes rigid and can shatter under sudden lateral stress, a crack that propagates instantly rather than bending the way aluminum does. Shattered fiberglass creates sharp splinters that can damage tent fabric from the inside.
Aluminum poles are found in quality mid-range and premium truck bed tents, Napier Sportz 57 Series and similar designs at the $200 and above price point. Aluminum bends rather than shatters. A bent aluminum pole is a visible, field-assessable problem. A shattered fiberglass pole is a tent-ending event without the right repair equipment.
The Three Failures and How to Identify Them
Failure 1: Cracked or shattered pole section (fiberglass). Symptoms: visible crack lines running lengthwise along the pole section, a sharp angle in a pole that should be straight, splintered material inside the pole sleeve, or a complete break where the section separates. Fiberglass failures are typically sudden and audible, with a sharp crack sound during setup or in high wind.
Failure 2: Bent pole section (aluminum). Symptoms: a visible kink or curve in a pole section that should be straight. Aluminum rarely breaks cleanly; it bends at the point of stress concentration, usually at a joint or ferrule position. A slightly bent aluminum pole may still function with reduced structural integrity. A sharply kinked aluminum pole cannot be straightened effectively and should be replaced.
Failure 3: Failed, frayed, or stretched shock cord. Symptoms: pole sections that do not snap back together when released, sections that separate during use, pole sections with excessive play at the connections, or a visible frayed or cut cord inside the pole tube. Shock cord failure is a gradual process; it does not produce a sudden failure event, but a pole system that worked fine last season may have shock cord that is too stretched to function reliably this season.
Field Repair: Cracked or Shattered Fiberglass Section
The pole repair sleeve is the tool for this repair. Every quality truck bed tent ships with one, or should; it is a short aluminum or fiberglass tube slightly larger in diameter than the pole sections, designed to slide over a cracked section and splint it back into functional condition.
If your tent did not include a pole repair sleeve, carry one. They are available at any outdoor retailer for under five dollars and weigh almost nothing. A pole repair sleeve is the only field repair tool for a cracked fiberglass pole.
- The repair process:
Step 1: Remove the cracked pole from the tent sleeve carefully, pulling it out from the end rather than pushing it from inside; fiberglass splinters pushed against the pole sleeve fabric can tear it.
Step 2: Assess the damage. If the pole is cracked but still in one piece, the repair sleeve can splint it. If the pole has shattered into multiple pieces, the repair sleeve can bridge the gap between the intact sections on either side of the break.
Step 3: Slide the repair sleeve over the cracked section, centering it over the damage point. The sleeve should extend at least 2 to 3 inches on each side of the crack.
Step 4: Secure the sleeve in place with electrical tape or duct tape wrapped tightly over the sleeve ends. The tape prevents the sleeve from sliding along the pole during use.
Step 5: Reassemble the pole and re-thread it through the tent sleeve. Test the repair by flexing gently; the splinted section should feel rigid rather than flexible at the repair point.
The honest limitation: A pole repair sleeve is a temporary field fix, not a permanent repair. A cracked fiberglass pole that has been splinted with a repair sleeve should be replaced at the first opportunity after the camping trip. Operating on a splinted pole for multiple trips risks secondary failure at the same point or adjacent sections.
Field Repair: Bent Aluminum Section
A slightly bent aluminum pole, one with a gentle curve rather than a sharp kink, can sometimes be used through the remainder of a camping trip with reduced structural integrity. Assess the bend before attempting repair: if the pole still threads through the sleeve and holds the tent shape without the tent sagging significantly, finishing the trip on the bent pole is acceptable.
A sharply kinked aluminum pole cannot be straightened effectively in the field and should be treated like a shattered fiberglass pole; use the repair sleeve to bridge the damaged section.
Attempting to straighten a bent aluminum pole:
Place the bent section across a hard, flat surface, a rock, the truck bed liner, or a flat piece of wood. Apply controlled, even pressure with your hands at the apex of the bend, pressing toward the flat surface. Work gradually along the bend rather than trying to straighten it all at once. An aluminum pole can be straightened somewhat from a gentle bend, but a sharp kink will develop stress fractures if straightened and is likely to re-fail under load.
If the aluminum pole has broken clean at the bend point, a less common failure than in fiberglass but possible in very cold conditions, use the repair sleeve to bridge the break, following the same process described for fiberglass above.
Field Repair: Shock Cord Replacement
A failed shock cord is the repair that most campers do not know they can perform in the field, and it is the most straightforward of the three. The tools required- replacement shock cord and a pair of scissors- are readily available, and the process takes 15 to 20 minutes the first time.
- What you need:
Replacement elastic shock cord at 2mm to 3mm diameter, the standard size for tent pole shock cords. A spool of replacement cord is available at any outdoor retailer and online for under ten dollars. The replacement cord should be slightly shorter than the total combined length of the pole sections when laid end to end; the tension in the cord is what holds the pole sections together and snaps them back when released.
Scissors or a knife to cut the cord to length.
- The repair process:
Step 1: Disassemble the pole into all its individual sections.
Step 2: Tie a knot in one end of the replacement shock cord. The knot needs to be larger than the opening at the end of the pole section; a standard overhand knot doubled back on itself works for most pole diameters.
Step 3: Thread the knotted end of the cord into the first pole section from the open end, pulling it through until the knot seats against the end of the section.
Step 4: Thread the cord through each subsequent pole section in order, working from one end of the assembled pole to the other.
Step 5: Once all sections are threaded, pull the cord taut at the far end, taut enough that the pole sections have a slight tension between them when separated by one section-length. Cut the cord at this point and tie a knot in the far end.
Step 6: Verify the tension by separating the pole sections and releasing; they should snap together without fully relaxing. If the cord feels slack rather than taut, the cord is too long and needs to be replaced with a shorter length.
Measuring for replacement cord length: The replacement shock cord should be approximately 10 to 15 percent shorter than the total length of all pole sections laid end to end. This creates the elastic tension that makes the pole self-assembling. Too short and the cord stresses the joints. Too long and the poles have no snap-back tension.
Home Repair: Replacing a Complete Pole Section
For a pole section that is beyond field repair, severely shattered fiberglass or a kinked aluminum section with visible stress fractures, replacement of the individual section is the correct long-term solution.
For Napier truck bed tents: Napier Outdoors sells individual replacement poles and complete pole sets for their product line directly through their website. Contact their customer support with your tent model number and the specific pole that needs replacement. Replacement poles ship in 2 to 3 business days, a practical turnaround for planning around hunting seasons or specific camping trips.
For other brands: Most mid-range and budget truck bed tent brands do not stock individual replacement poles. The options are a universal pole replacement from an outdoor retailer, measured to match the diameter and length of the original, or, if the pole failure is covered under the product warranty, a replacement from the manufacturer.
Universal tent poles are available at outdoor retailers in fiberglass at 7mm, 8.5mm, and 9mm diameters and in aluminum at similar size grades. Match the diameter precisely; a pole section that is too narrow in diameter will have excessive play in the pole sleeve, and a pole section too wide will not thread at all.
Home Repair: Full Shock Cord Replacement and Preventive Maintenance
Shock cord degrades with UV exposure, compression from storage in the carry bag, and repeated stretching cycles through normal tent use. Most tent shock cords need replacement every 3 to 5 years of regular use, sooner with heavy use or if the tent has been stored in direct sunlight.
The preventive maintenance approach: replace the shock cord before it fails rather than after. If the poles are sluggish to snap together, if sections separate during normal use, or if the assembled pole feels more flexible than it did when the tent was new, the shock cord has stretched beyond its effective tension range.
Replacement shock cord at 2mm to 3mm diameter in 50-foot or 100-foot spools allows complete re-cording of all poles in most truck bed tents with cord to spare. The same process described in the field repair section above applies for home replacement; the advantage at home is better lighting, a flat work surface, and the ability to take time measuring the replacement cord length precisely rather than estimating under field conditions.
Preventive Practices That Reduce Pole Failures
Most truck bed tent pole failures are not random events; they follow from specific practices that create excess stress on the pole system.
Connect pole sections with a smooth push, not a twist. Fiberglass pole sections that are connected at an angle rather than straight-on create stress at the ferrule joint that accumulates with each assembly cycle. Connect each section with a straight push until the joint fully seats.
Release tent straps before removing poles. Attempting to remove poles while the tent is still under bed rail strap tension forces the poles against the sleeve seams and tips rather than allowing them to slide freely. Always release all attachment straps before disassembly.
Store poles loosely. Extended storage in a tightly compressed carry bag maintains the poles in a compressed state that stresses the shock cord continuously. Store the tent loosely in a large mesh bag between trips; the shock cord lasts significantly longer without the constant compression of a stuffed carry bag.
In cold temperatures, allow the poles to warm before assembly. Fiberglass poles at temperatures below freezing are significantly more brittle than at ambient temperature. When camping in cold weather, bringing the poles into the truck cab to warm before setup significantly reduces the cracking risk during assembly.
Inspect pole sections at the start of each season. Run a hand along each pole section and feel for any hairline cracks, rough spots at the ferrule positions, or joints with unusual play. Catching a developing failure before a camping trip is significantly better than discovering it in the field.
The Emergency Tent Pole Kit: What to Carry
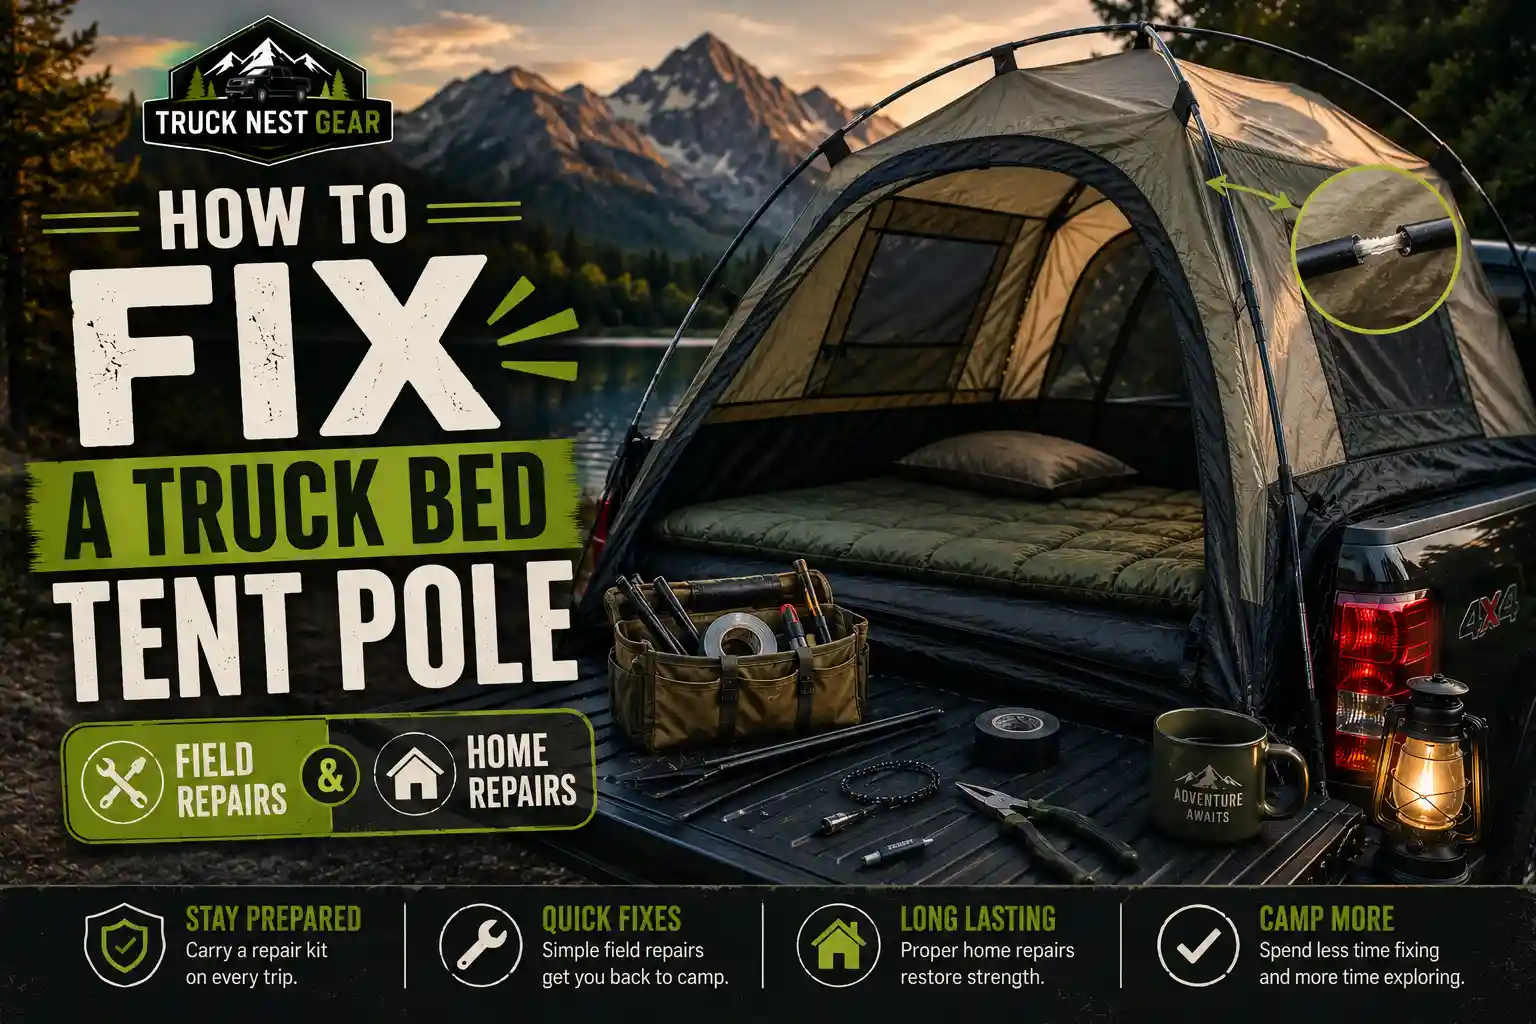
For any camping trip where pole failure would be a meaningful problem, remote dispersed camping, multi-night trips, hunting season camps in cold weather, carry a minimal repair kit that addresses all three failure types.
Pole repair sleeve: One sleeve sized to fit your tent’s pole diameter. The most critical single item in the kit.
Electrical tape: One roll. Secures the repair sleeve and has a dozen other campsite repair uses.
Replacement shock cord: 10 feet of 2mm to 3mm shock cord, enough to re-cord one full pole if needed.
Scissors or knife: Already in every camping kit for other purposes.
Total weight of this kit: under 4 ounces. Total cost: under ten dollars. Ability to continue a camping trip despite the most common pole failure: complete.